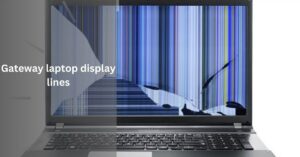
Gateway laptop display lines – Don’t despair
Is your once-pristine Gateway laptop screen now marred by unsightly lines? Don’t fret! This article will be your guide to conquering those visual disturbances.
We’ll delve into the potential culprits behind these display lines, equip you with troubleshooting steps, and explore solutions to get your screen back in tip-top shape.
So, whether you’re facing stubborn vertical lines, distracting horizontal ones, or a frustrating combination of both, keep reading for valuable insights and a path towards a clear and functional display.
Unveiling the Mystery Behind Gateway Laptop Display Lines
A Menagerie of Mischief Makers:
Display lines can manifest in a multitude of ways, each with its own story to tell. You might encounter:
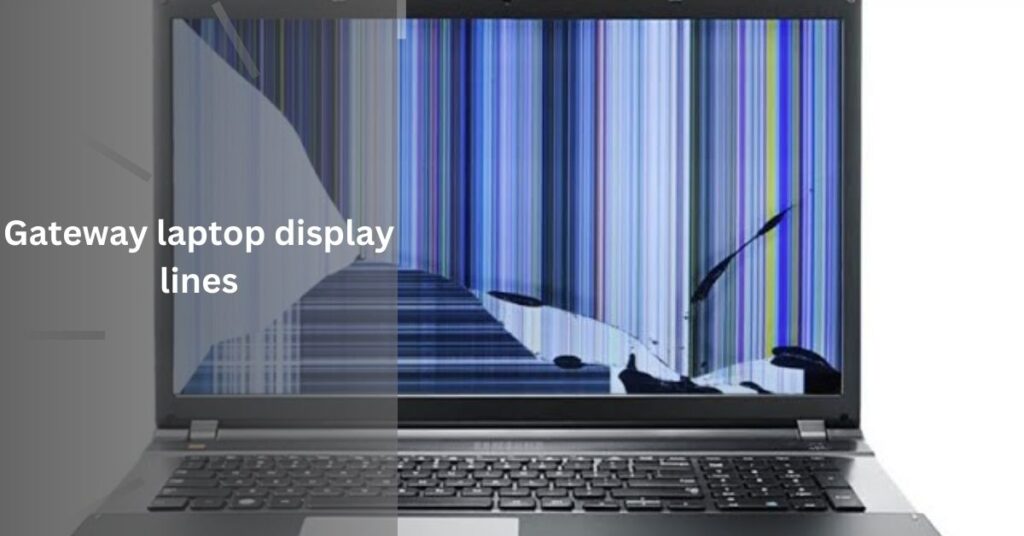
- Pesky Vertical Lines: These rigid lines, often stretching from top to bottom, can be a telltale sign of physical damage. A bump, a drop, or even forceful pressure on the delicate LCD panel can disrupt the intricate internal structure, leading to these unwelcome vertical streaks.
- Distracting Horizontal Lines: These stubborn lines run parallel to the bottom and top of the screen, often like unwelcome stripes marring your view. While physical damage can also cause them, loose connections are another potential culprit. The ribbon cable, a fragile lifeline carrying visual data between the display and the motherboard, might have become unseated, causing these horizontal disruptions.
- A Chaotic Mix: Sometimes, the display might exhibit a confounding combination of both vertical and horizontal lines. This could indicate a more severe issue, potentially hinting at a malfunctioning graphics card. The graphics card acts as the mastermind behind the visuals you see on your screen. If this crucial component suffers a malfunction, it can manifest in a chaotic display of lines, robbing your laptop of its visual clarity.
- The Software Spectre: Don’t underestimate the power of software to wreak havoc on your display. Outdated display drivers, the software that allows your operating system to communicate effectively with the graphics card and display, can sometimes lead to display problems like lines. Additionally, software glitches or bugs within the operating system itself can also be a sneaky culprit behind these visual disturbances.
By understanding the different types of display lines and their potential causes, you’ll be better equipped to diagnose the issue and implement the appropriate solution.
So, let’s move on to the next step – troubleshooting techniques to banish those pesky lines and restore your Gateway laptop’s display to its former glory!
Troubleshoots
Before throwing in the towel and resorting to drastic measures, let’s explore a tactical toolbox filled with troubleshooting steps to vanquish those unsightly lines plaguing your Gateway laptop screen.
Step 1: The Power of a Reboot
Underestimate the power of a simple restart at your own peril! Occasionally, temporary glitches can manifest as display lines.
A quick reboot can often clear these gremlins from your system’s memory, restoring your display to its former glory. It’s a swift and easy first step that shouldn’t be overlooked.
Step 2: The External Monitor Test
Before delving deeper into the internal workings of your laptop, employ the external monitor as your diagnostic tool.
Connect your Gateway laptop to an external monitor using an HDMI or VGA cable (depending on the ports available).
If the lines vanish upon using the external monitor, the culprit most likely resides within your laptop’s display itself.
This eliminates potential issues with the graphics card or software and narrows down the battlefield.
Step 3: The Driver Update Offensive
Outdated display drivers can sometimes be the root cause of display woes. These drivers act as the bridge between your operating system, graphics card, and the display, ensuring smooth visual communication.
Outdated drivers can lead to communication breakdowns, manifesting as display lines. Head to Gateway’s official website and navigate to the support section.
There, you should be able to locate the latest display driver specifically designed for your Gateway laptop model. Download and install these updated drivers, potentially restoring harmony to your display.
Step 4: Re-seating the Display Cable (For the Tech-Savvy)
Important Note: If you’re not comfortable tinkering with your laptop’s internal components, it’s highly advisable to skip this step and proceed to seeking professional help.
For the tech-savvy user, a potentially loose display cable might be the culprit behind the display lines.
This cable ferries visual data between the display panel and the motherboard. If it becomes unseated even slightly, display issues can arise.
If you’re confident in your abilities, you can carefully open the back panel of your laptop and locate the display cable.
Once located, gently re-seat the cable into its designated slot on the motherboard. Remember, exercise extreme caution while handling internal components to avoid causing further damage.
By following these initial troubleshooting steps, you might be able to banish those pesky display lines from your Gateway laptop screen.
However, if these steps prove ineffective, fear not! We’ll delve into seeking professional help in the next section.
Seeking Professional Help: When DIY Isn’t the Answer
If these troubleshooting steps prove ineffective, fear not! Here are some resources for professional assistance:
- Gateway Support: Contact Gateway customer support. They might be able to diagnose the issue and offer repair solutions. They may also be able.
Prevention is Key:
To minimize the risk of display lines in the future, handle your laptop with care. Avoid dropping it, applying excessive pressure on the screen, or exposing it to extreme temperatures. Regularly update your drivers and keep your laptop software current.
FAQS
1. my display lines flicker or change color. What could be wrong?
Flickering or color-changing lines can indicate a more serious issue than simple static lines. This could point towards a failing graphics card or a damaged LCD panel. Seeking professional help from Gateway support or a qualified technician is recommended.
2. Is warranty coverage applicable for display line repairs?
It depends. If your Gateway laptop is still under warranty, display line repairs due to manufacturing defects might be covered. However, warranty coverage typically excludes damage caused by physical accidents (drops, spills) or user negligence.
Always consult your warranty documentation or contact Gateway support for clarification.
3. I’m not comfortable opening my laptop. Are there any alternative solutions for a loose display cable?
If you’re not comfortable tinkering with internal components, it’s best to avoid attempting to reseat the display cable yourself. However, some tech-repair shops might offer a diagnostic service where they can assess the issue and potentially fix a loose display cable without requiring you to disassemble the laptop.
4. What if the display lines appear only on specific applications or games?
Display lines appearing only in certain programs could indicate software compatibility issues with the graphics card drivers. Try updating the drivers or searching online for compatibility solutions specific to the problematic application.
Conclusion
Battling unsightly lines on your Gateway laptop screen? Don’t despair! Explore potential causes like physical damage or outdated drivers.
A restart, external monitor test, or driver update might be the cure. For trickier issues, seek help from Gateway support or a qualified technician.
Remember, preventive care like careful handling and software updates can go a long way in keeping your Gateway display crystal clear.